Surgical Robotic System: GUI
Minimally invasive surgery through a screen.
Brainstorming Sessions | User Interviews & Research | Journey Mapping | User & Product Workflows | Sketch | Wireframes | Prototype Testing
PROJECT
Our client came to 219 Design with a mission to build a surgical medical device. This system will improve patients' current clinical outcomes and experiences, lower the barrier to entry for surgeons to adapt new technology, and build a reliable and safe system for new generations of doctors.
219 collaborated with our client's UX design and research team to design 5 graphical user interfaces (GUIs) and a general application structure.
PROCESS
UX team for 15 months:
1 Project Manager (219)
1 Product Designer (219)
1 UX Designer (Client)
1 UI Designer (219, Myself)
BRAINSTORMING & IDEATION
The clinical engineering team provided existing data and competitor analysis to spark brainstorming and breakout sessions early in the project timeline. During our initial design sessions, I implemented a set of rotating exercises and ideation practices to keep our sessions different each time. More often than not, we also invited another person from a different project team to challenge our perspectives. This led to a better understanding of our users needs and business goals.
STORYBOARDS & WORKFLOWS
A surgical robot has multiple sub-systems and each team had it's own set of goals. The UX team made it a habit to hold idea exchanges with each sub-team to ensure that each product goal was aligned. I encouraged and rallied up spontaneous sessions with our client to continually build upon our user journeys.
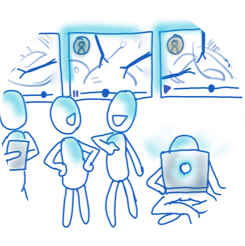
Storyboarding and building user workflows with our clinical engineers guided design decisions that stressed the importance of initial adoption and proper training of users on the system. I collaborated with the client research and marketing teams to create a story-board for key stakeholders and presented these ideas to other teams to align product vision and scope.
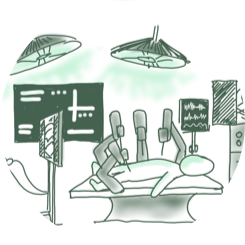
Img 2. Storyboarding images from design sessions with the clinical engineering team.

RESEARCH & INTERVIEWS
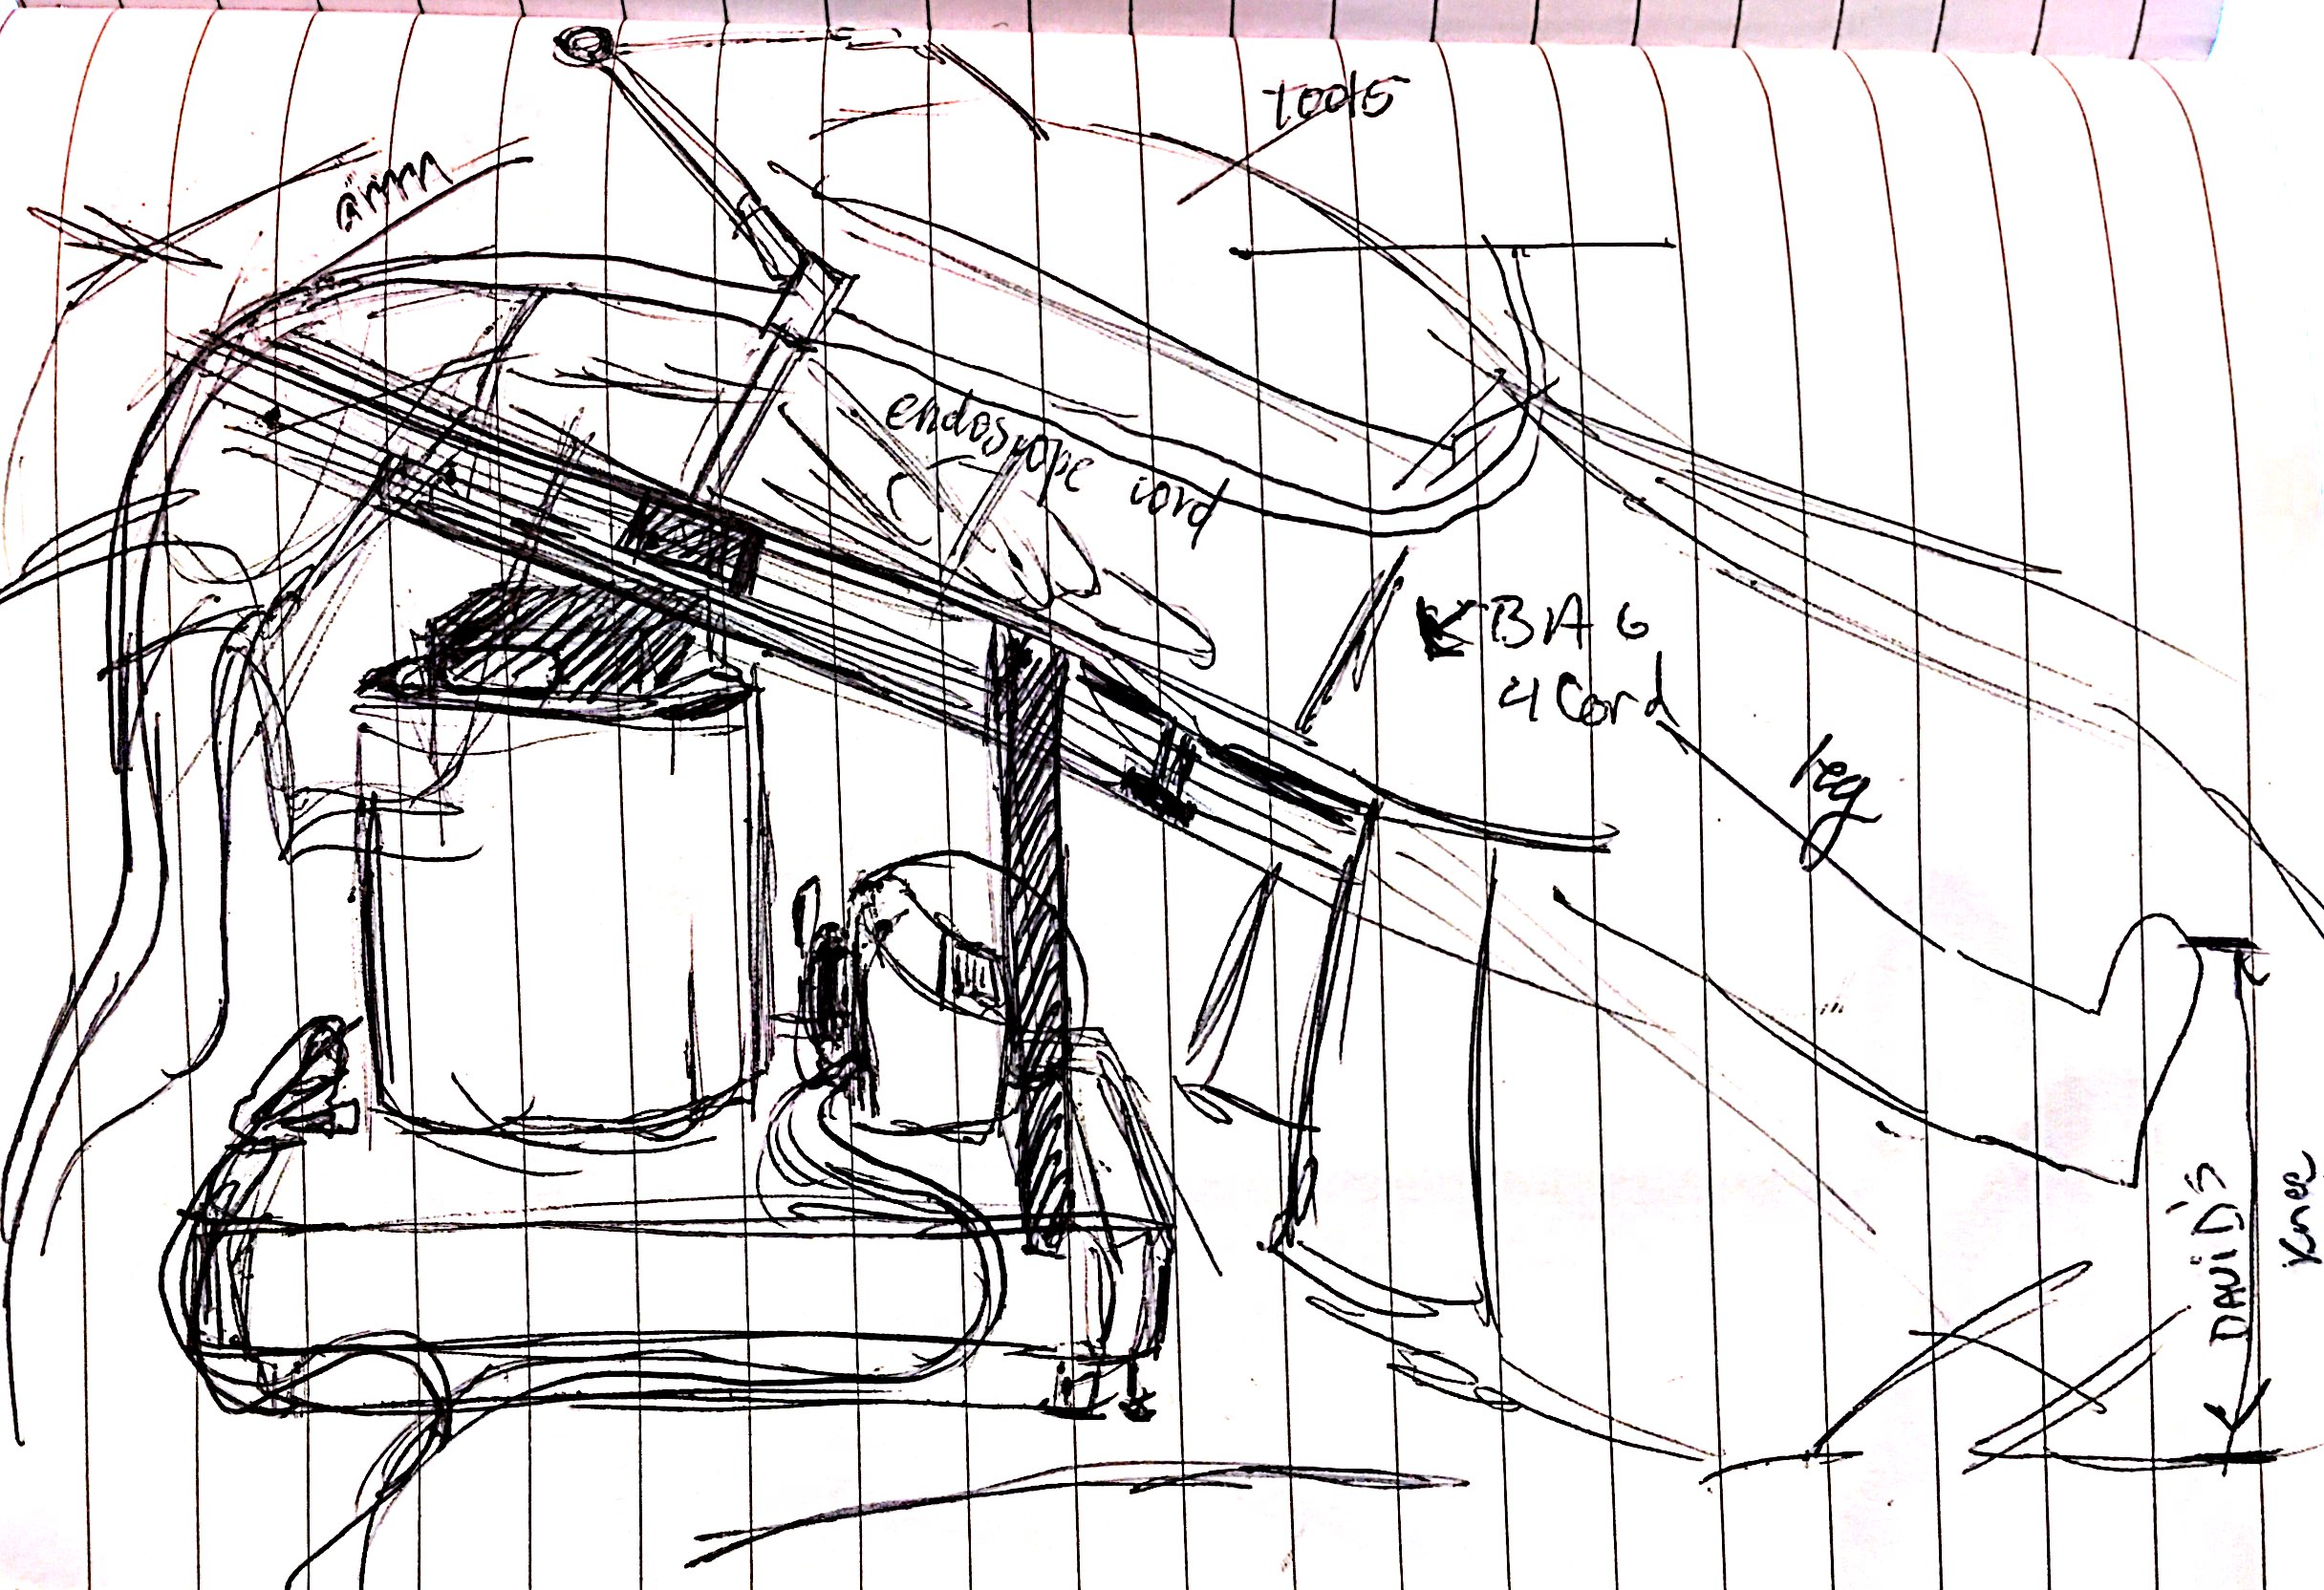
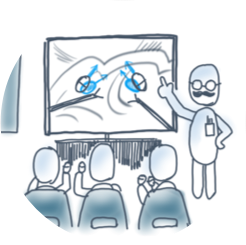
Img 5. Contextual drawing of an operation room bed. This image is a collaborative effort between the hardware and software team during an on-site observation.
The UX team visited clinical sites to observe live clinical and trial cases with competitor systems. We observed contextual behaviors of users, and gained insightful feedback and information from one-on-one interviews with the staff on site. We discovered that many environmental factors and hospital-specific needs would shape complex user journeys.
We arranged non-clinical interviews in a simulated operation room to replicate surgery conditions as closely as possible. Recordings and notes from these sessions broadened our view of how the user would interact with our screens.
SKETCHES & WIREFRAMES
The UX team convened on a regular basis to consult new ideas, review sketches, wireframes, and mockups. Each quarter, we hosted design workshops with other teams to gain a broader perspective for product direction, various layouts, features, and applications. From these sessions, we were able to rapidly uncover solutions and address user needs.
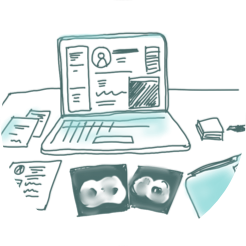
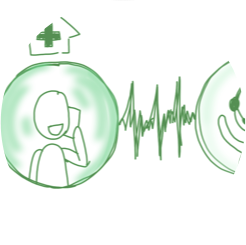
Media 1. A prototype containing a visual aid to understand the relationship between user input and visual feedback.
PROTOTYPES
Further along this project, our team built Flinto and Framer prototypes to gain interactive feedback from user testing. I found that Principle emulated the most fluid interactions, so I prototyped miniature user interfaces to perform tests and receive feedback on user interactions with the robotic input devices.
Data from prototype testing . If users were struggling to interact with a certain element, I observed the trends and common pain points to
RESULTS
A working Framer prototype successfully demonstrated user interactions, while connected to specialized input devices that surgeons controlled to manipulate GUI elements. We continued to iterate and improve our GUI prototype trials, gaining insight from live feedback. Interview sessions allowed doctors to voice their concerns and wants, as our UX team refined solutions to adjust to specific user needs.
The client team eventually brought their GUI UX efforts in-house, where they continue to build on our research and design efforts.